SuperTokens

Overview
SuperTokens is an open source authentication solution which provides many stratergies for authenticating and managing users. You can use the managed service for easy setup or you can self host the solution to have complete control over your data.
With SuperTokens, Supabase can be used to store and authorize access to user data. Supabase makes it simple to setup Row Level Security(RLS) policies which ensure users can only read and write data that belongs to them.
Documentation
SuperTokens is an open source authentication solution which provides many stratergies for authenticating and managing users. You can use the managed service for easy setup or you can self host the solution to have complete control over your data.
In this guide we will build a simple web application using SuperTokens, Supabase, and Next.js. You will be able to sign up using SuperTokens and your email and user ID will be stored in Supabase. Once authenticated the frontend will be able to query Supabase and retrieve the user's email. Our example app will be using the Email-Password and Social Login recipe for authentication and session management.
We will use Supabase to store and authorize access to user data. Supabase makes it simple to setup Row Level Security(RLS) policies which ensure users can only read and write data that belongs to them.
Demo App
You can find a demo app using SuperTokens, Supabase and Nexts.js on Github
Step 1: Create a new Supabase project
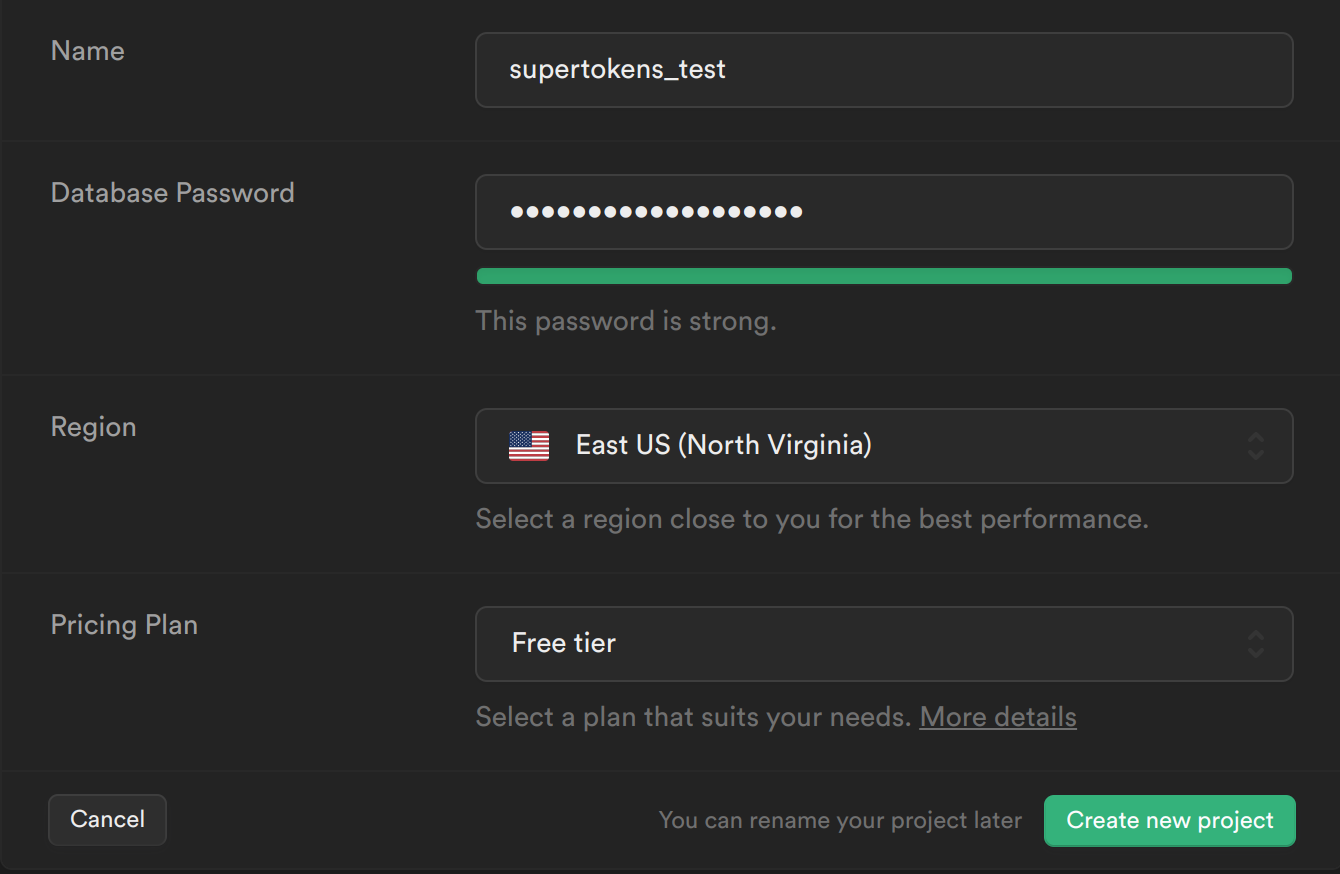
From your Supabase dashboard, click New project.
Enter a Name for your Supabase project.
Enter a secure Database Password.
Select the same Region you host your app's backend in.
Click Create new project.
Step 2: Creating tables in Supabase
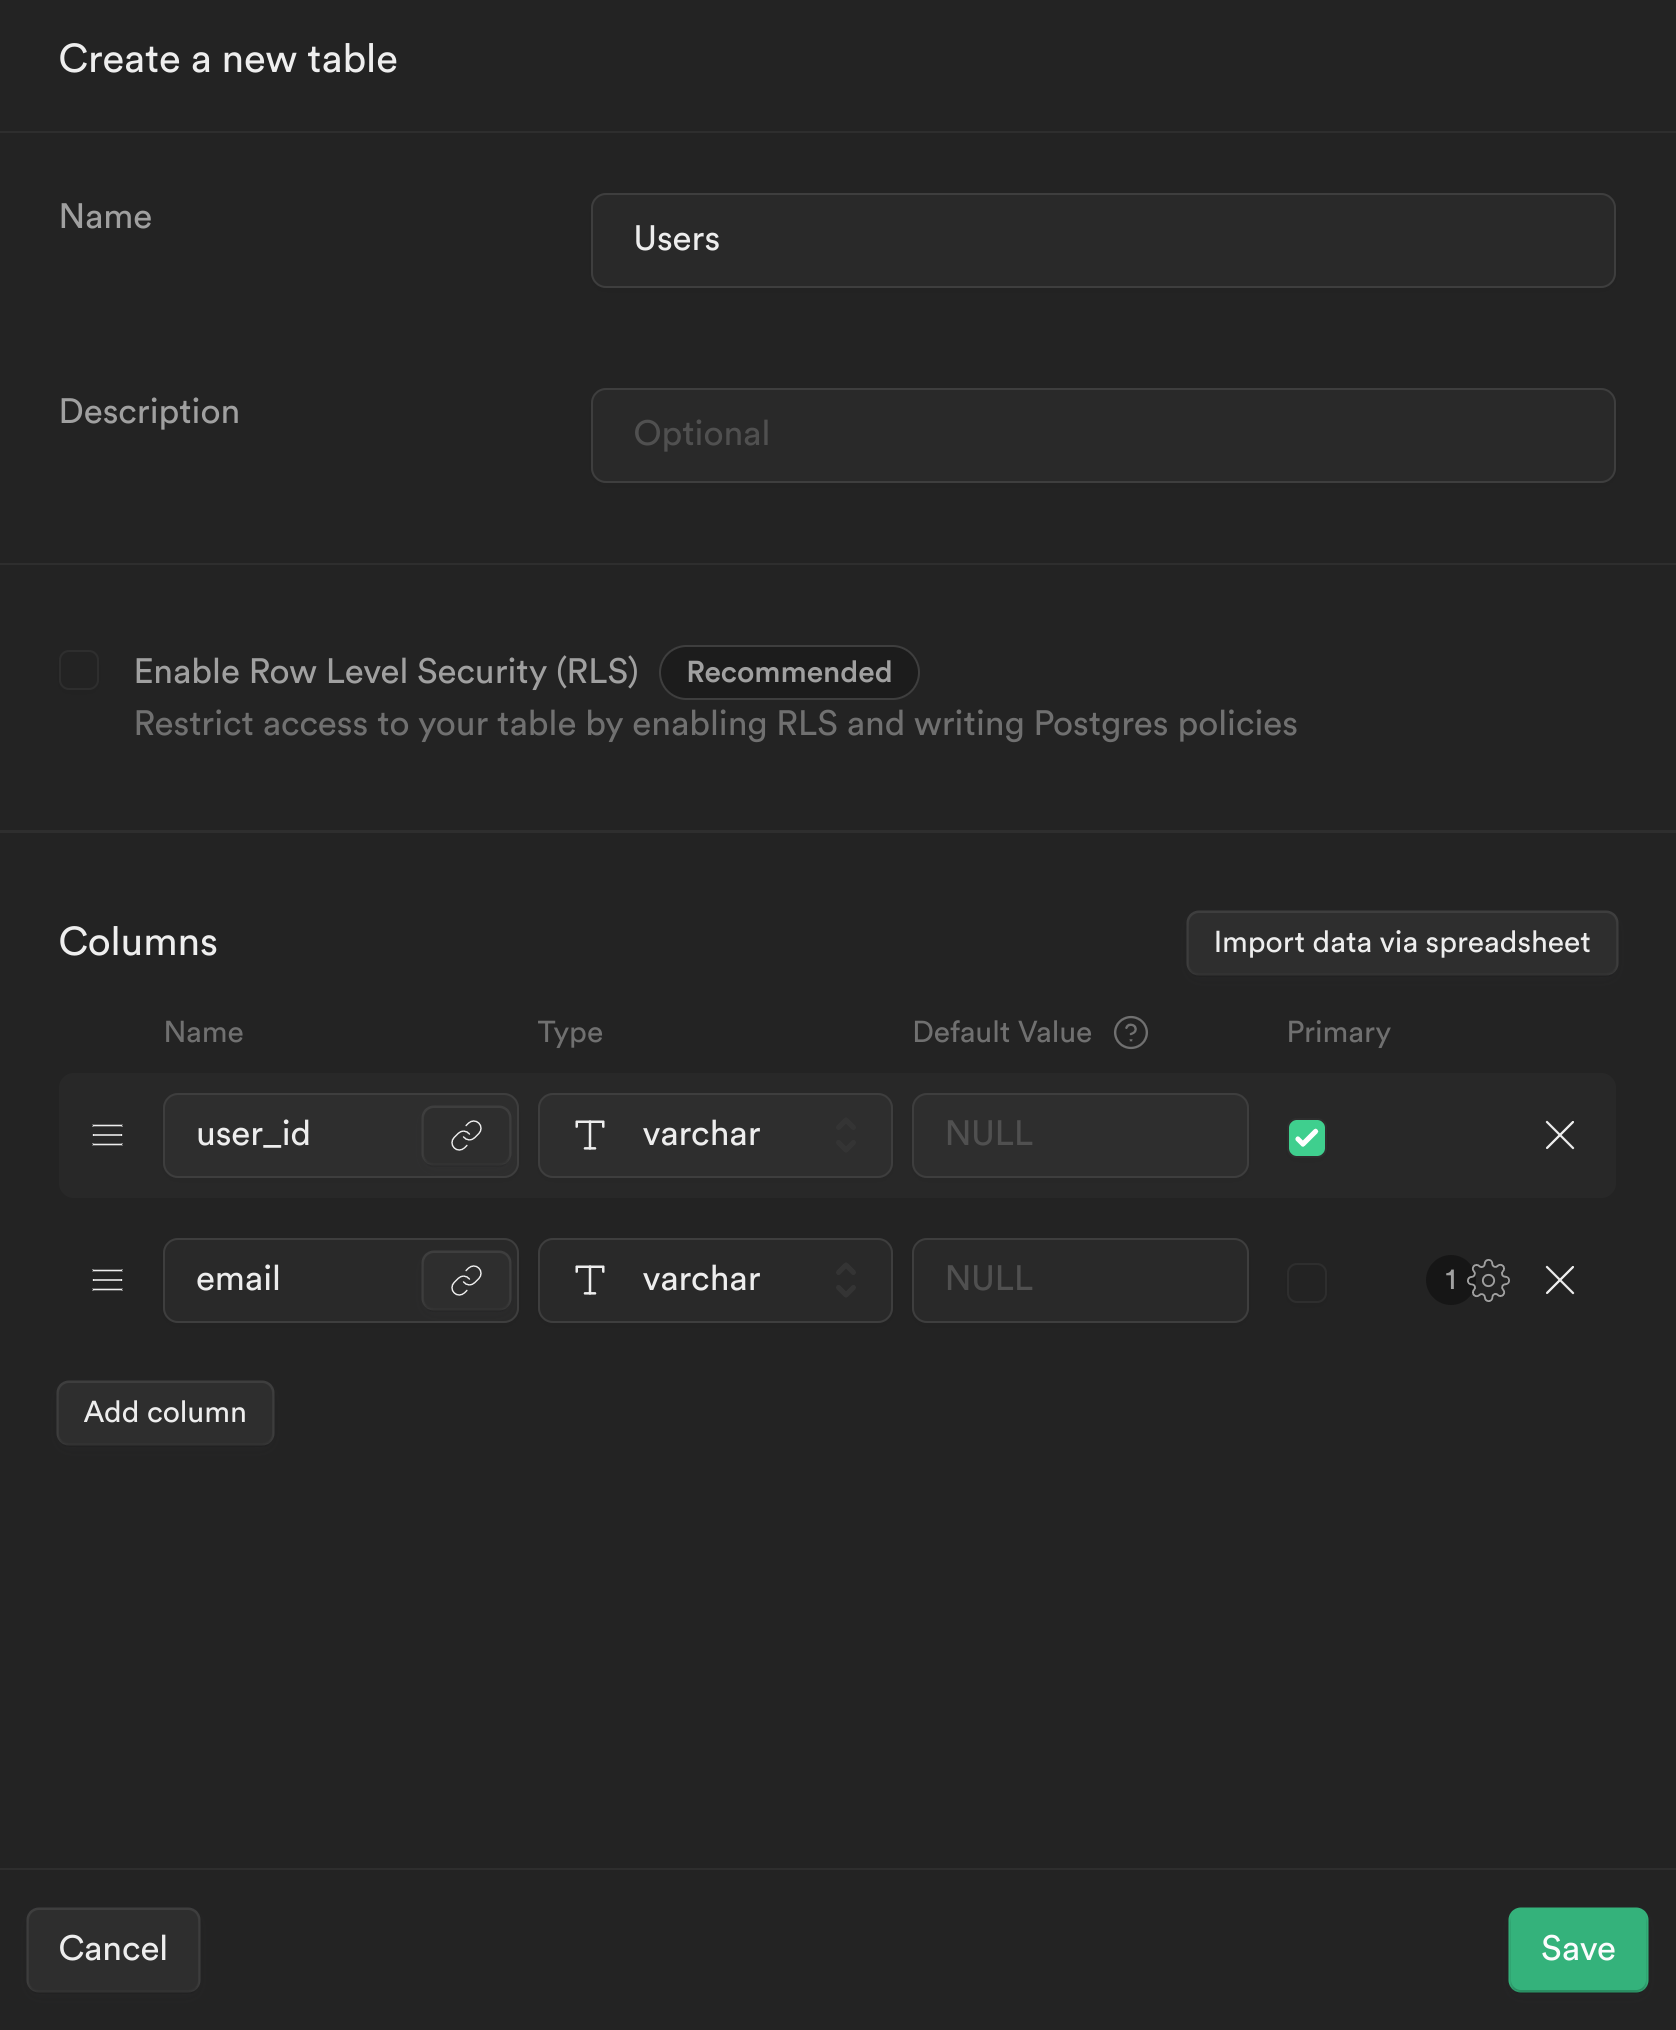
From the sidebar menu in the Supabase dashboard, click Table editor, then New table.
Enter users as the Name field.
Select Enable Row Level Security (RLS).
Remove the default columns
Create two new columns:
user_idastextas primary keyemailastext
Click Save to create the new table.
Step 3: Setup your Next.js App with SuperTokens.
Since the scope of this guide is limited to the integration between SuperTokens and Supabase, you can refer to the SuperTokens website to see how to setup your Next.js app with SuperTokens.
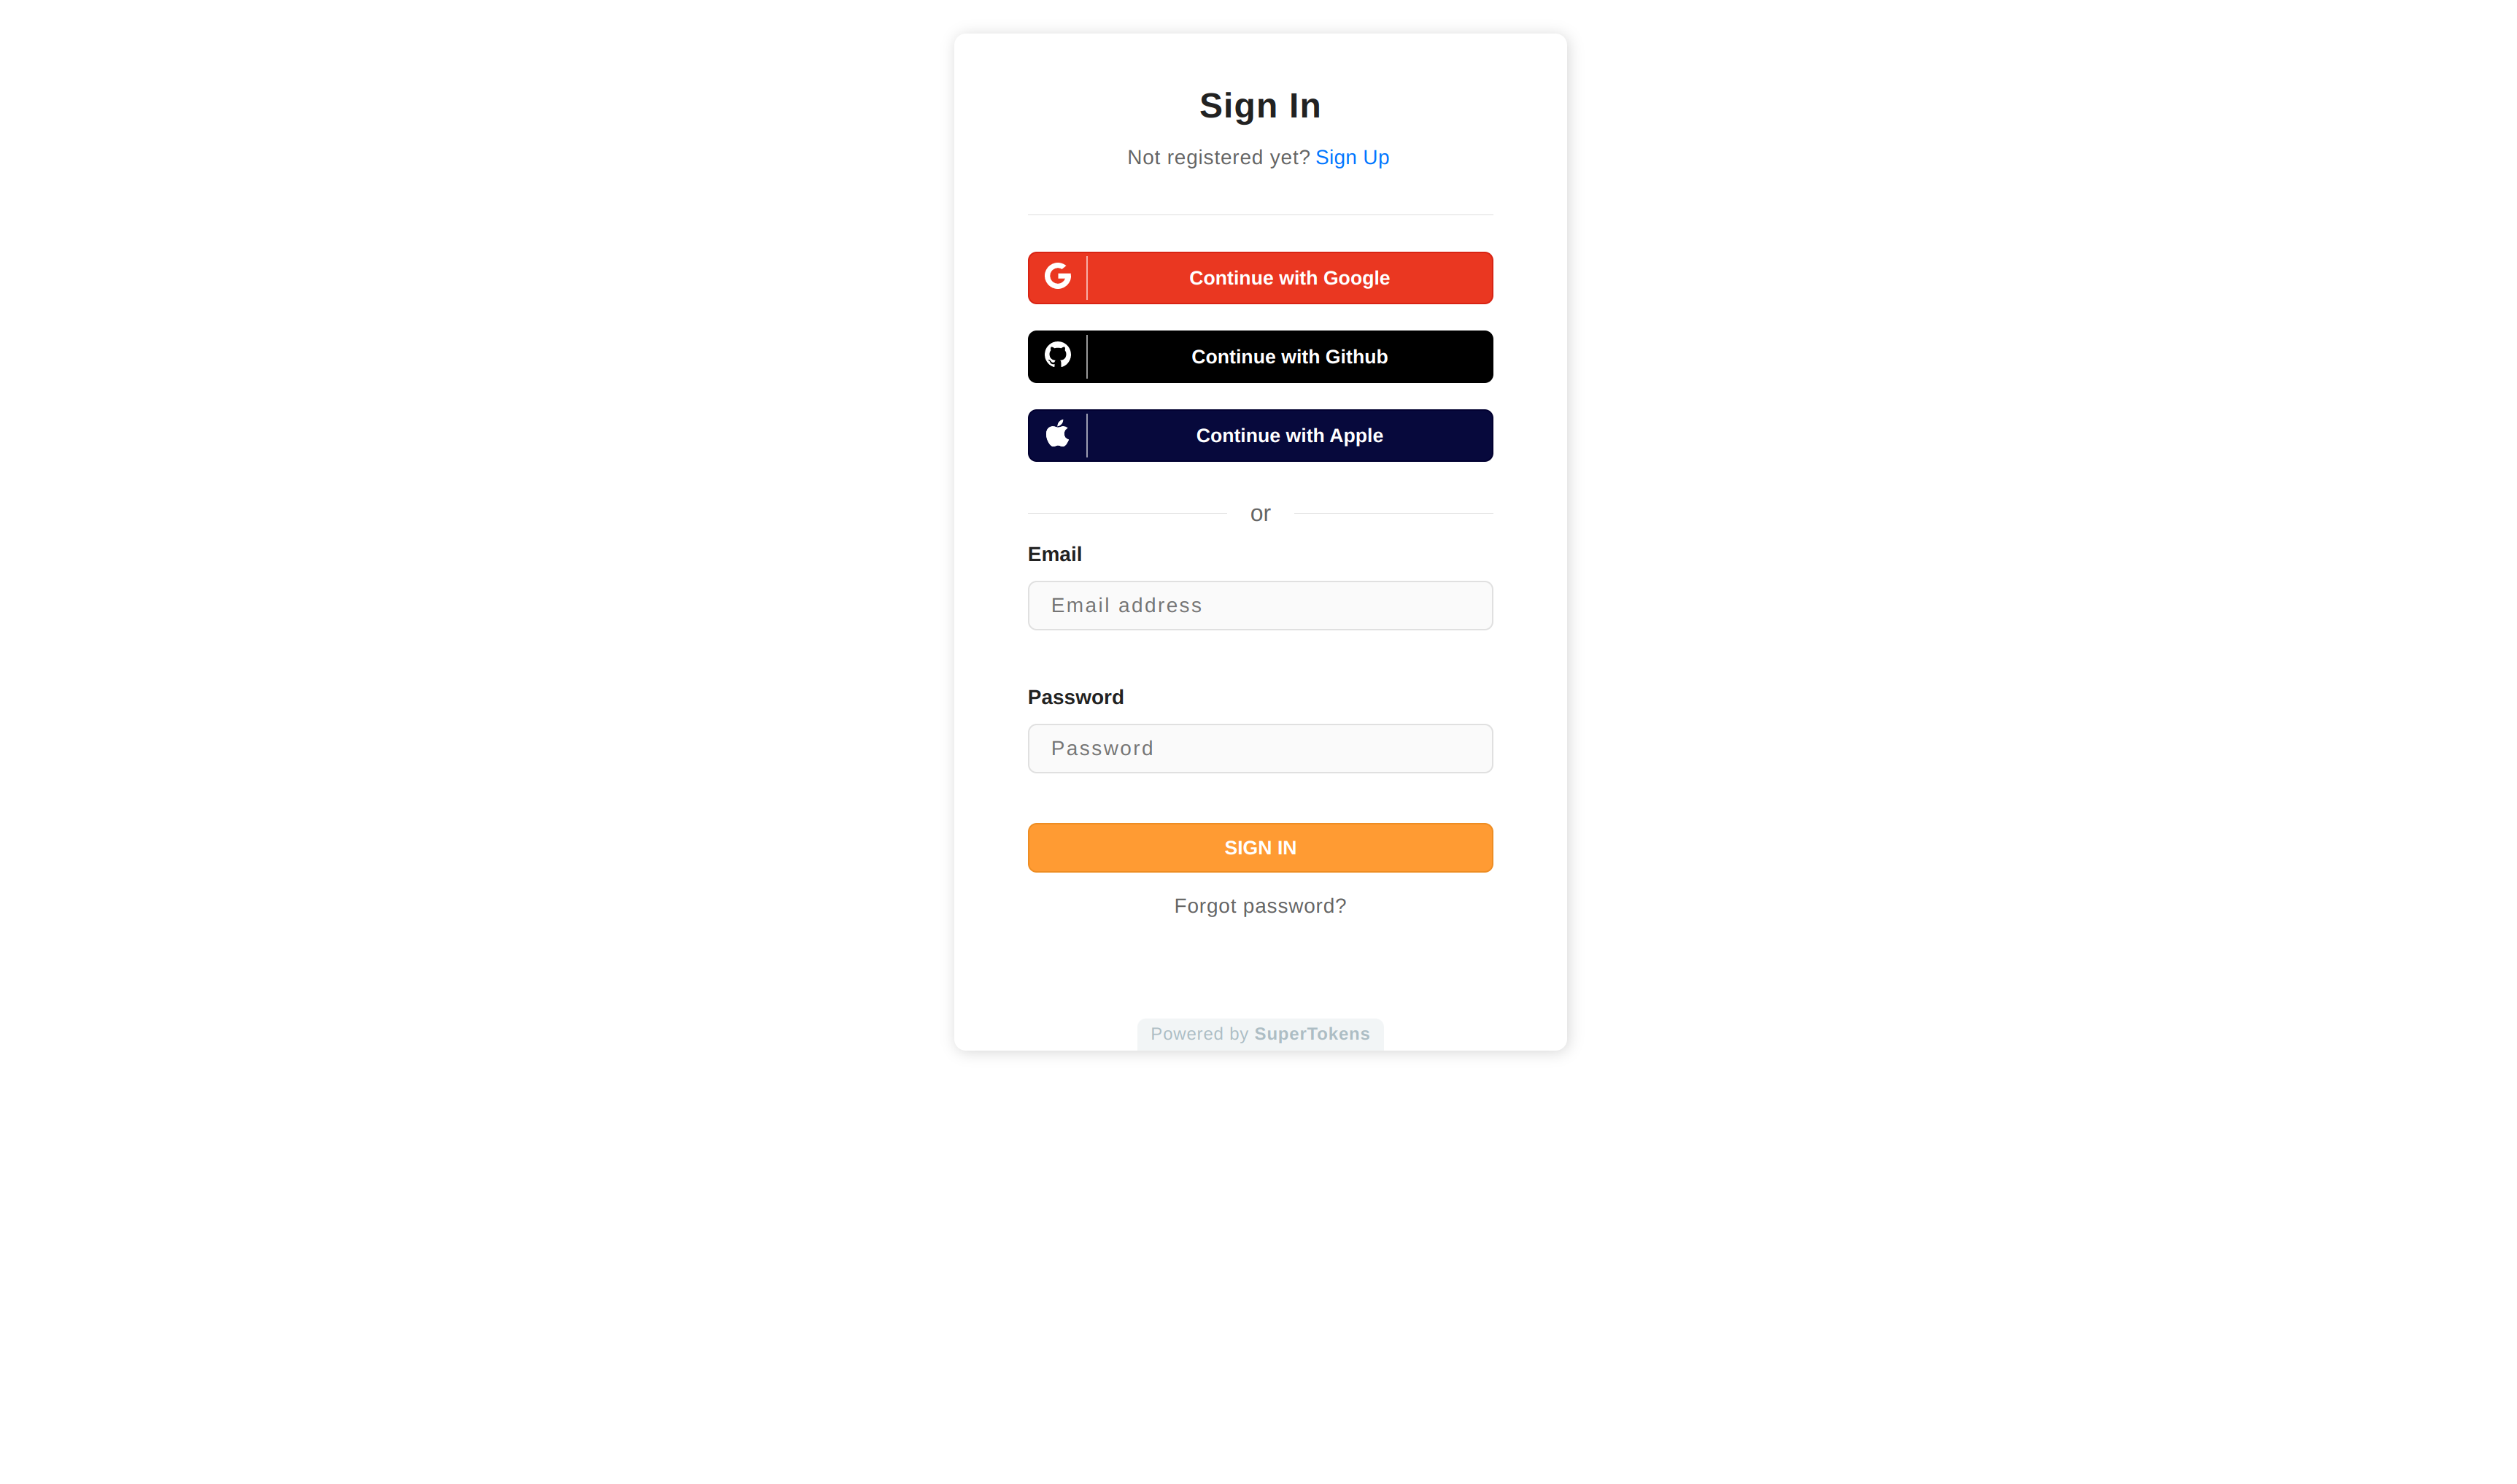
Once you finish setting up your app, you will be greeted with the following screen
Step 4: Creating a Supabase JWT to access Supabase
In our Nextjs app when a user signs up, we want to store the user's email in Supabase. We would then retrieve this email from Supabase and display it on our frontend.
To use the Supabase client to query the database we will need to create a JWT signed with your Supabase app's signing secret. This JWT will also need to contain the user's userId so Supabase knows an authenticated user is making the request.
To create this flow we will need to modify SuperTokens so that, when a user signs up or signs in, a JWT signed with Supabase's signing secret is created and attached to the user's session. Attaching the JWT to the user's session will allow us to retrieve the Supabase JWT on the frontend and backend (post session verification), using which we can query Supabase.
We want to create a Supabase JWT when we are creating a SuperTokens' session. This can be done by overriding the createNewSession function in your backend config.
As seen above, we will be using the jsonwebtoken library to create a JWT signed with Supabase's signing secret whose payload contains the user's userId.
We will be storing this token in the accessTokenPayload which will essentially allow us to access the supabase_token on the frontend and backend whilst the user is logged in.
Step 5: Creating a Supabase client
Create a new file called utils/supabase.ts and add the following:
This will be our client for talking to Supabase. We can pass it an access_token and it will be attached to our request. This access_token is the same as the supabase_token we had created earlier.
Step 6: Inserting users into Supabase when they sign up:
In our example app there are two ways for signing up a user. Email-Password and Social Login based authentication. We will need to override both these APIs such that when a user signs up, their email mapped to their userId is stored in Supabase.
As seen above, we will be overriding the emailPasswordSignUpPOST and thirdPartySignInUpPOST APIs such that if a user signs up, we retrieve the Supabase JWT (which we created in the createNewSession function) from the user's accessTokenPayload and send a request to Supabase to insert the email-userid mapping.
Step 7: Retrieving the user's email on the frontend
Now that our backend is setup we can modify our frontend to retrieve the user's email from Supabase.
As seen above we will be using SuperTokens useSessionContext hook to retrieve the authenticated user's userId and accessTokenPayload. Using React's useEffect hook we can use the Supabase client to retrieve the user's email from Supabase using the JWT retrieved from the user's accessTokenPayload and their userId.
Step 8: Create Policies to enforce Row Level Security for Select and Insert requests
To enforce Row Level Security for the Users table we will need to create policies for Select and Insert requests.
These polices will retrieve the userId from the JWT and check if it matches the userId in the Supabase table
To do this we will need a PostgreSQL function to extract the userId from the JWT.
The payload in the JWT will have the following structure:
To create the PostgreSQL function, lets navigate back to the Supabase dashboard, select SQL from the sidebar menu, and click New query. This will create a new query called new sql snippet, which will allow us to run any SQL against our Postgres database.
Write the following and click Run.
This will create a function called auth.user_id(), which will inspect the userId field of our JWT payload.
SELECT query policy
Our first policy will check whether the user is the owner of the email.
Select Authentication from the Supabase sidebar menu, click Policies, and then New Policy on the Users table.
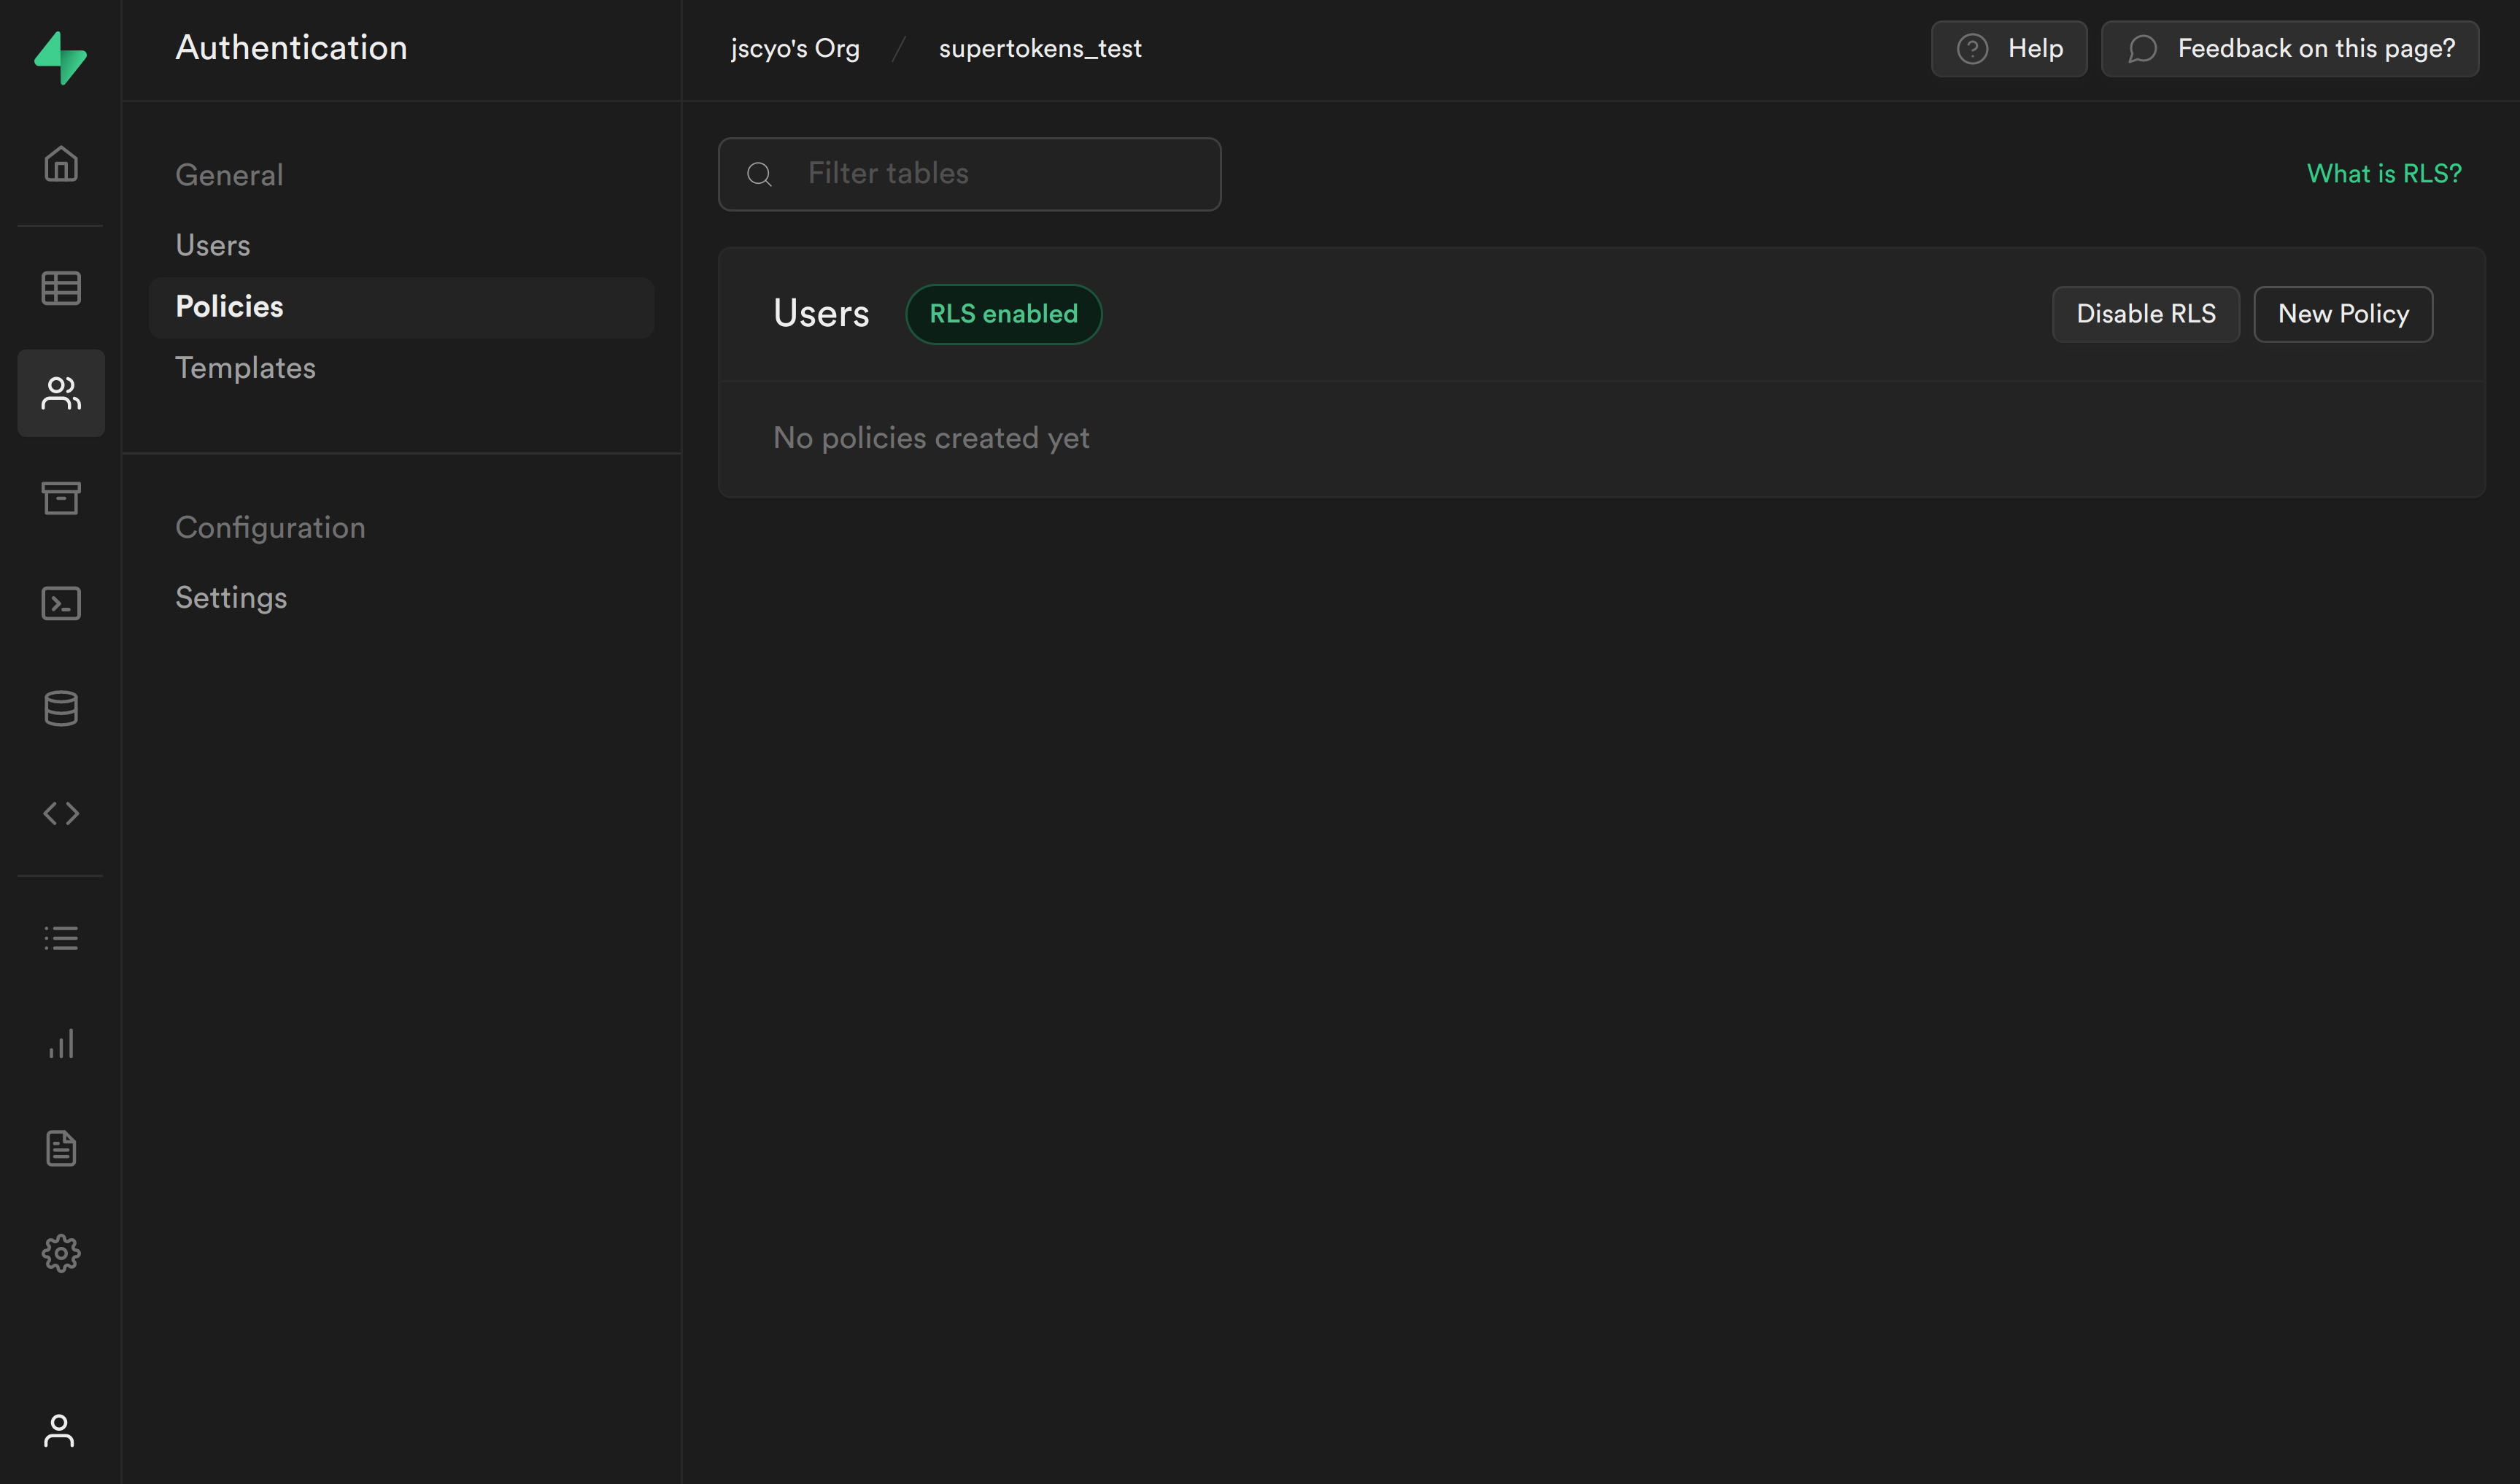
From the modal, select Create a policy from scratch and add the following.
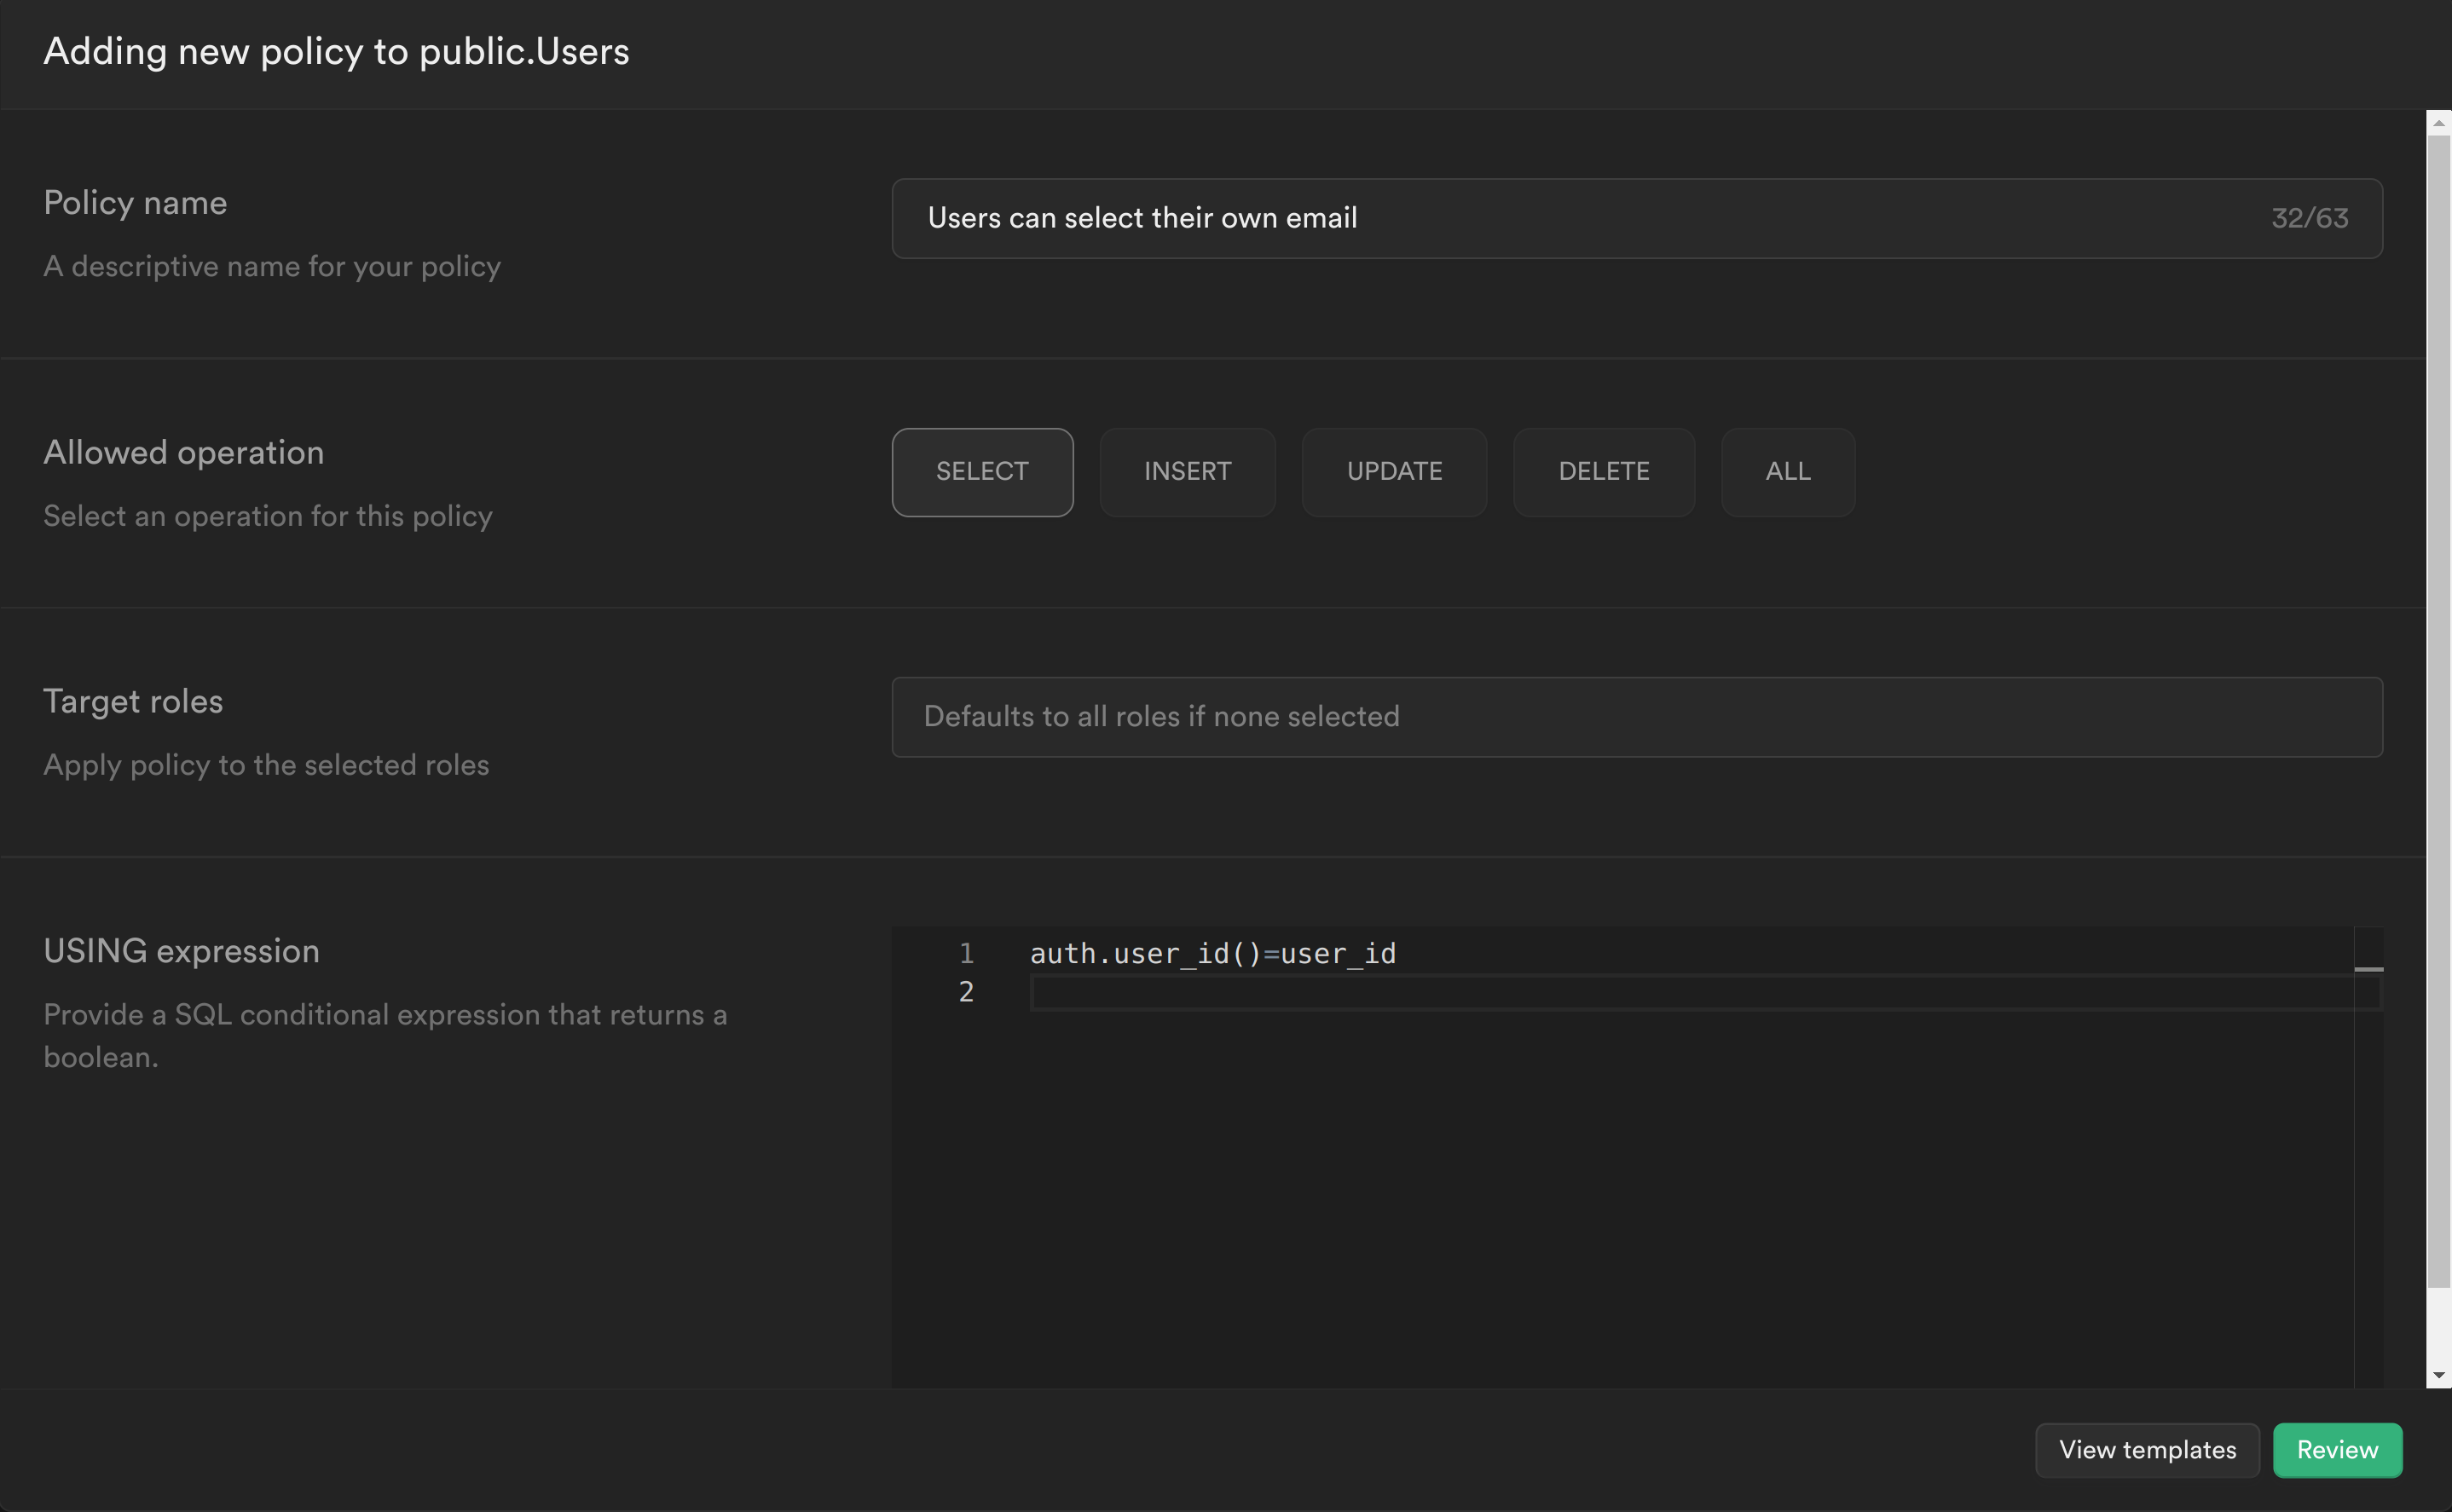
This policy is calling the PostgreSQL function we just created to get the currently logged in user's ID auth.user_id() and checking whether this matches the user_id column for the current email. If it does, then it will allow the user to select it, otherwise it will continue to deny.
Click Review and then Save policy.
INSERT query policy
Our second policy will check whether the user_id being inserted is the same as the userId in the JWT.
Create another policy and add the following:
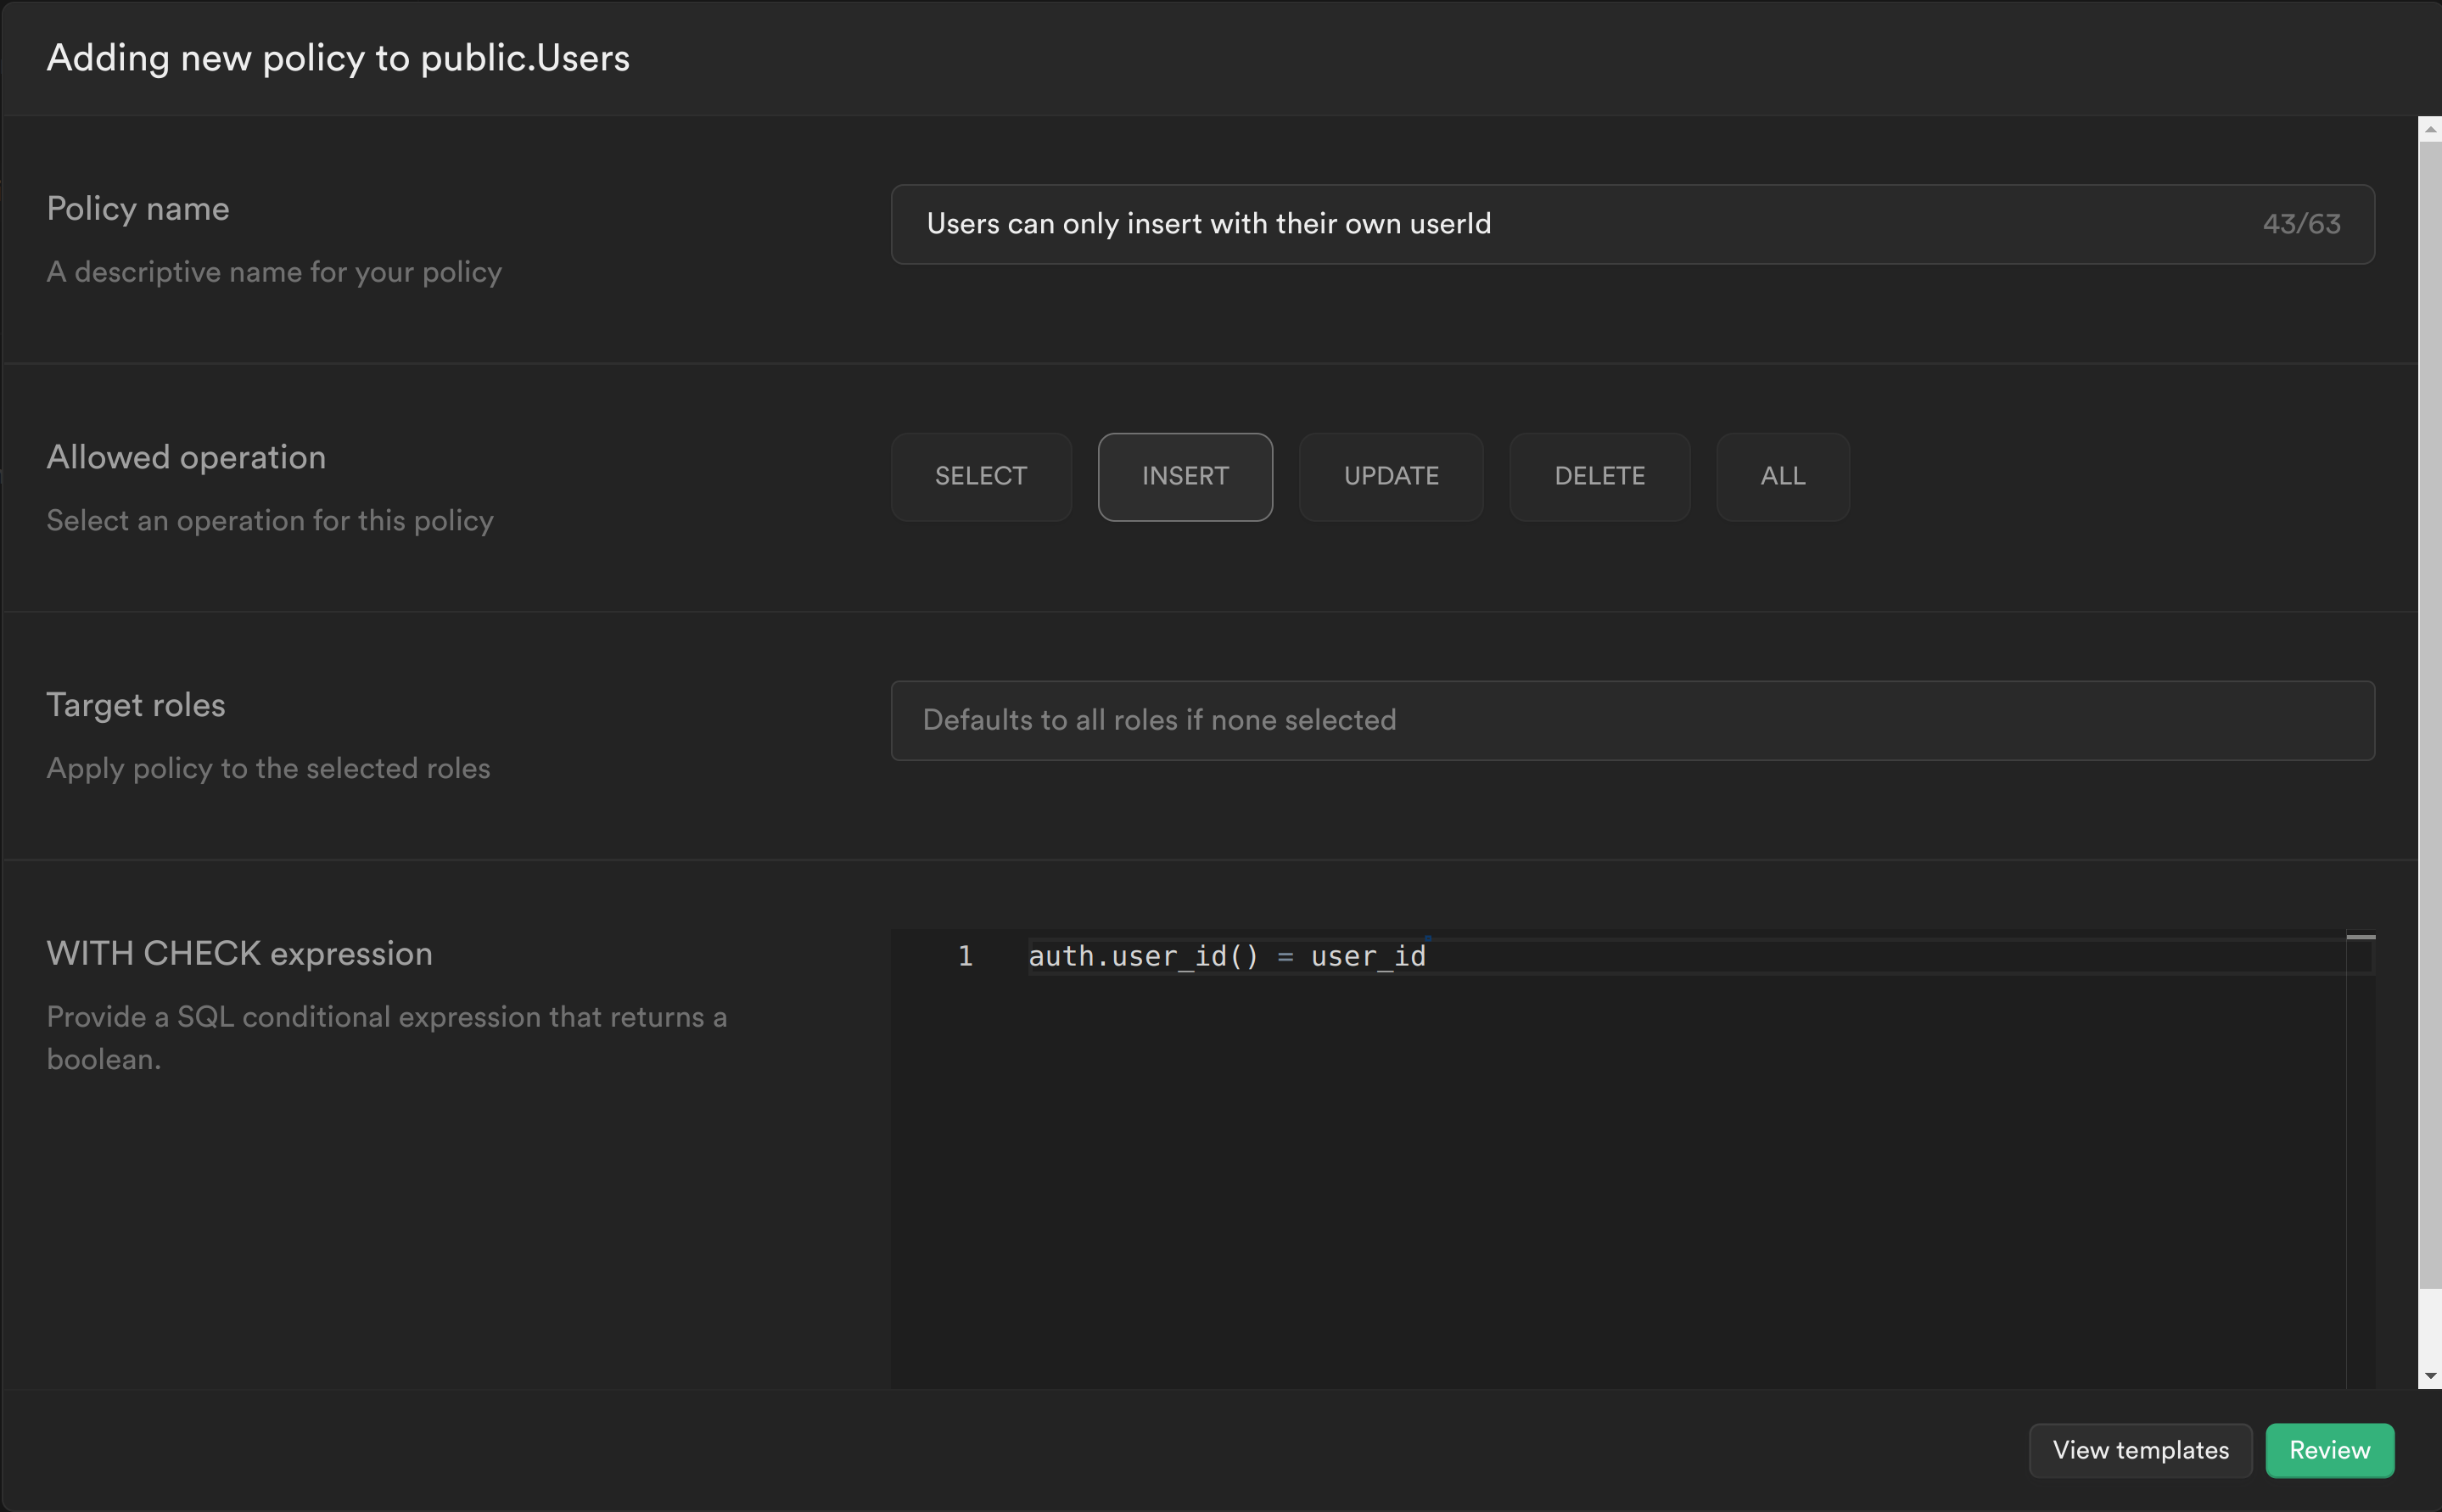
Similar to the previous policy we are calling the PostgreSQL function we created to get the currently logged in user's ID auth.user_id() and check whether this matches the user_id column for the row we are trying to insert. If it does, then it will allow the user to insert the row, otherwise it will continue to deny.
Click Review and then Save policy.
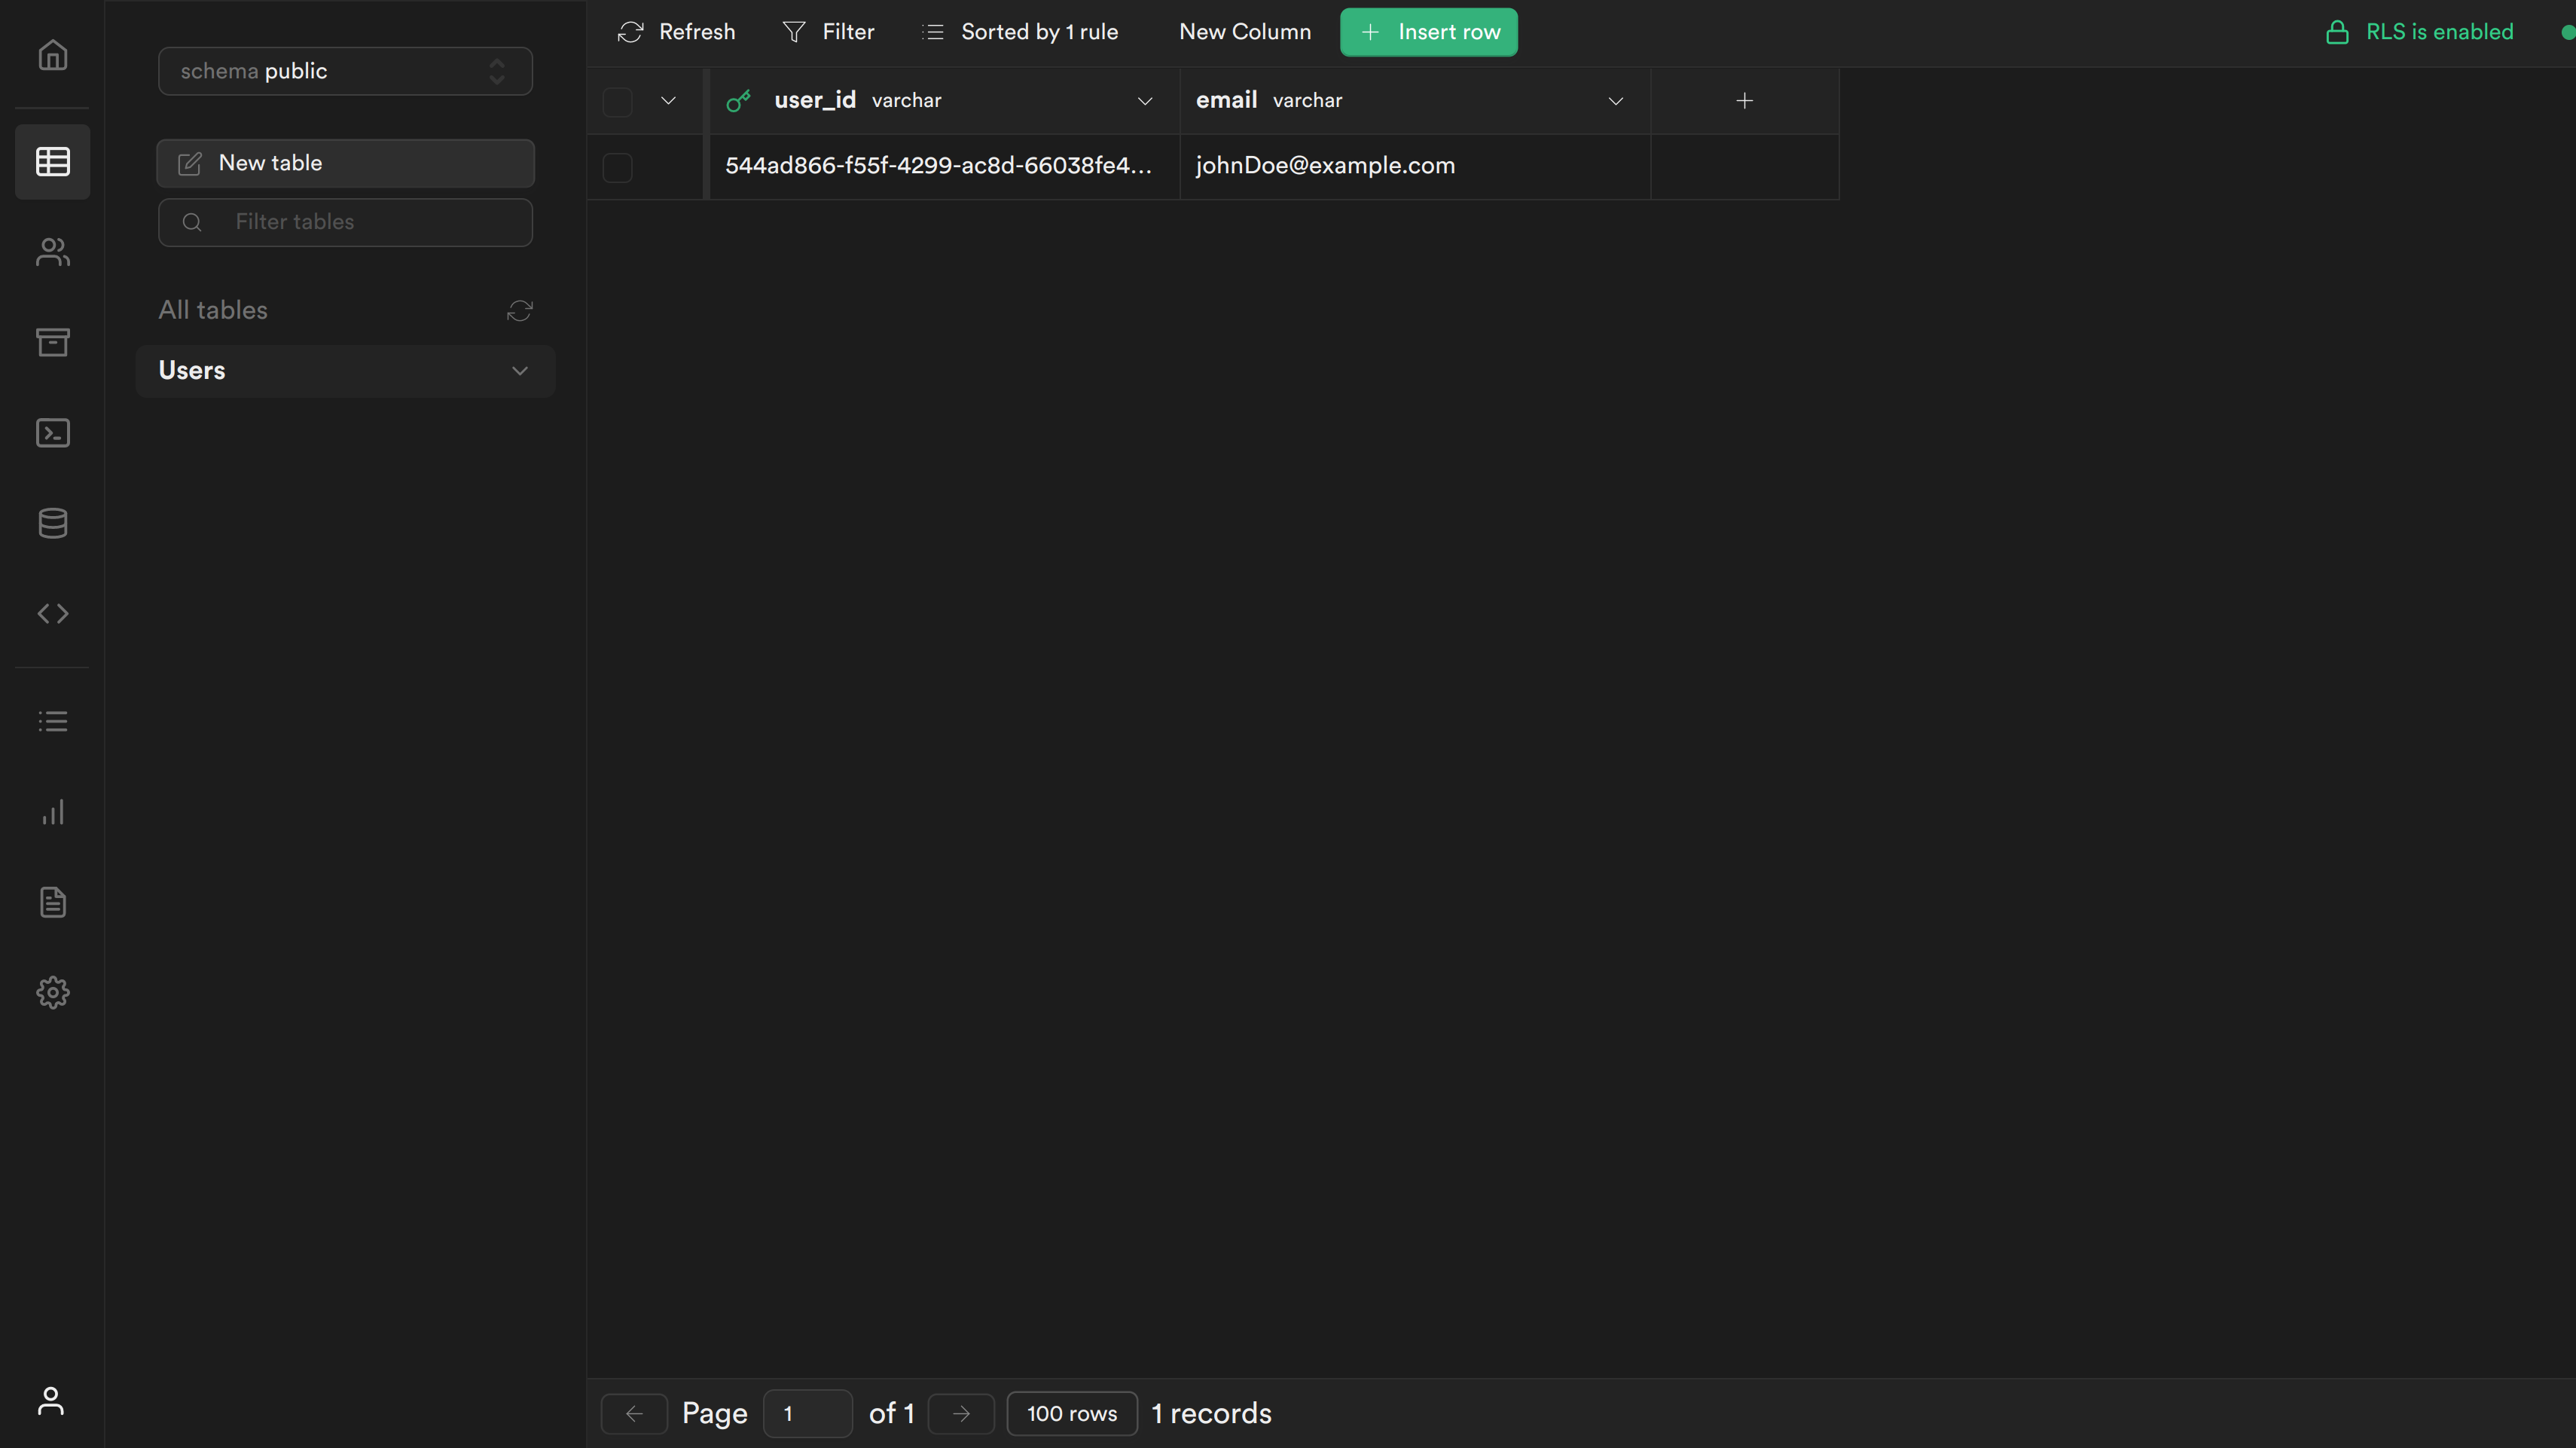
Step 9: Test your changes
You can now sign up and you should see the following screen:

If you navigate to your table you should see a new row with the user's user_id and email.
Resources
- SuperTokens official website.
- SuperTokens community.
- SuperTokens documentation.
Details
Third-party integrations and docs are managed by Supabase partners.